

Are you tired of your office chair damaging your floors and making it difficult to move around your workspace? A DIY office chair mat can be the perfect solution to protect your floors and improve your overall office experience. In this article, we will explore the benefits of creating your own office chair mat and provide you with step-by-step instructions to make one. Let's get started!
Office chairs with wheels can cause a lot of wear and tear on your floors, especially if they have hard casters. Over time, this can lead to scratches, scuffs, and dents on your beautiful hardwood, tile, or laminate floors. Additionally, constant chair movement can be noisy and distracting, affecting your productivity. Here's why a DIY office chair mat is a must:
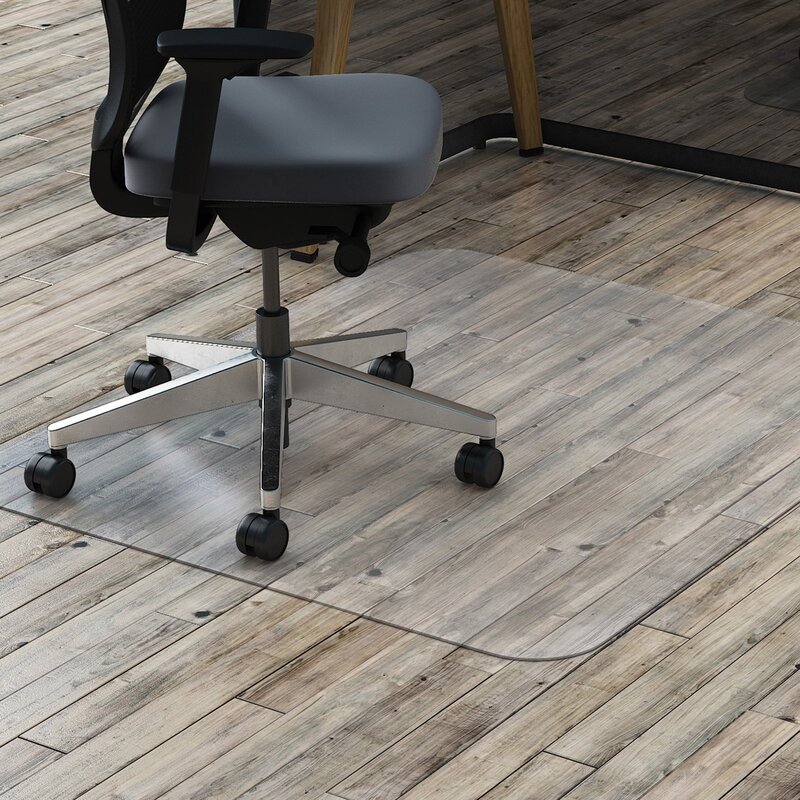
1. Floor Protection: A chair mat acts as a barrier between your office chair and the floor, preventing damage and preserving the look of your floors.
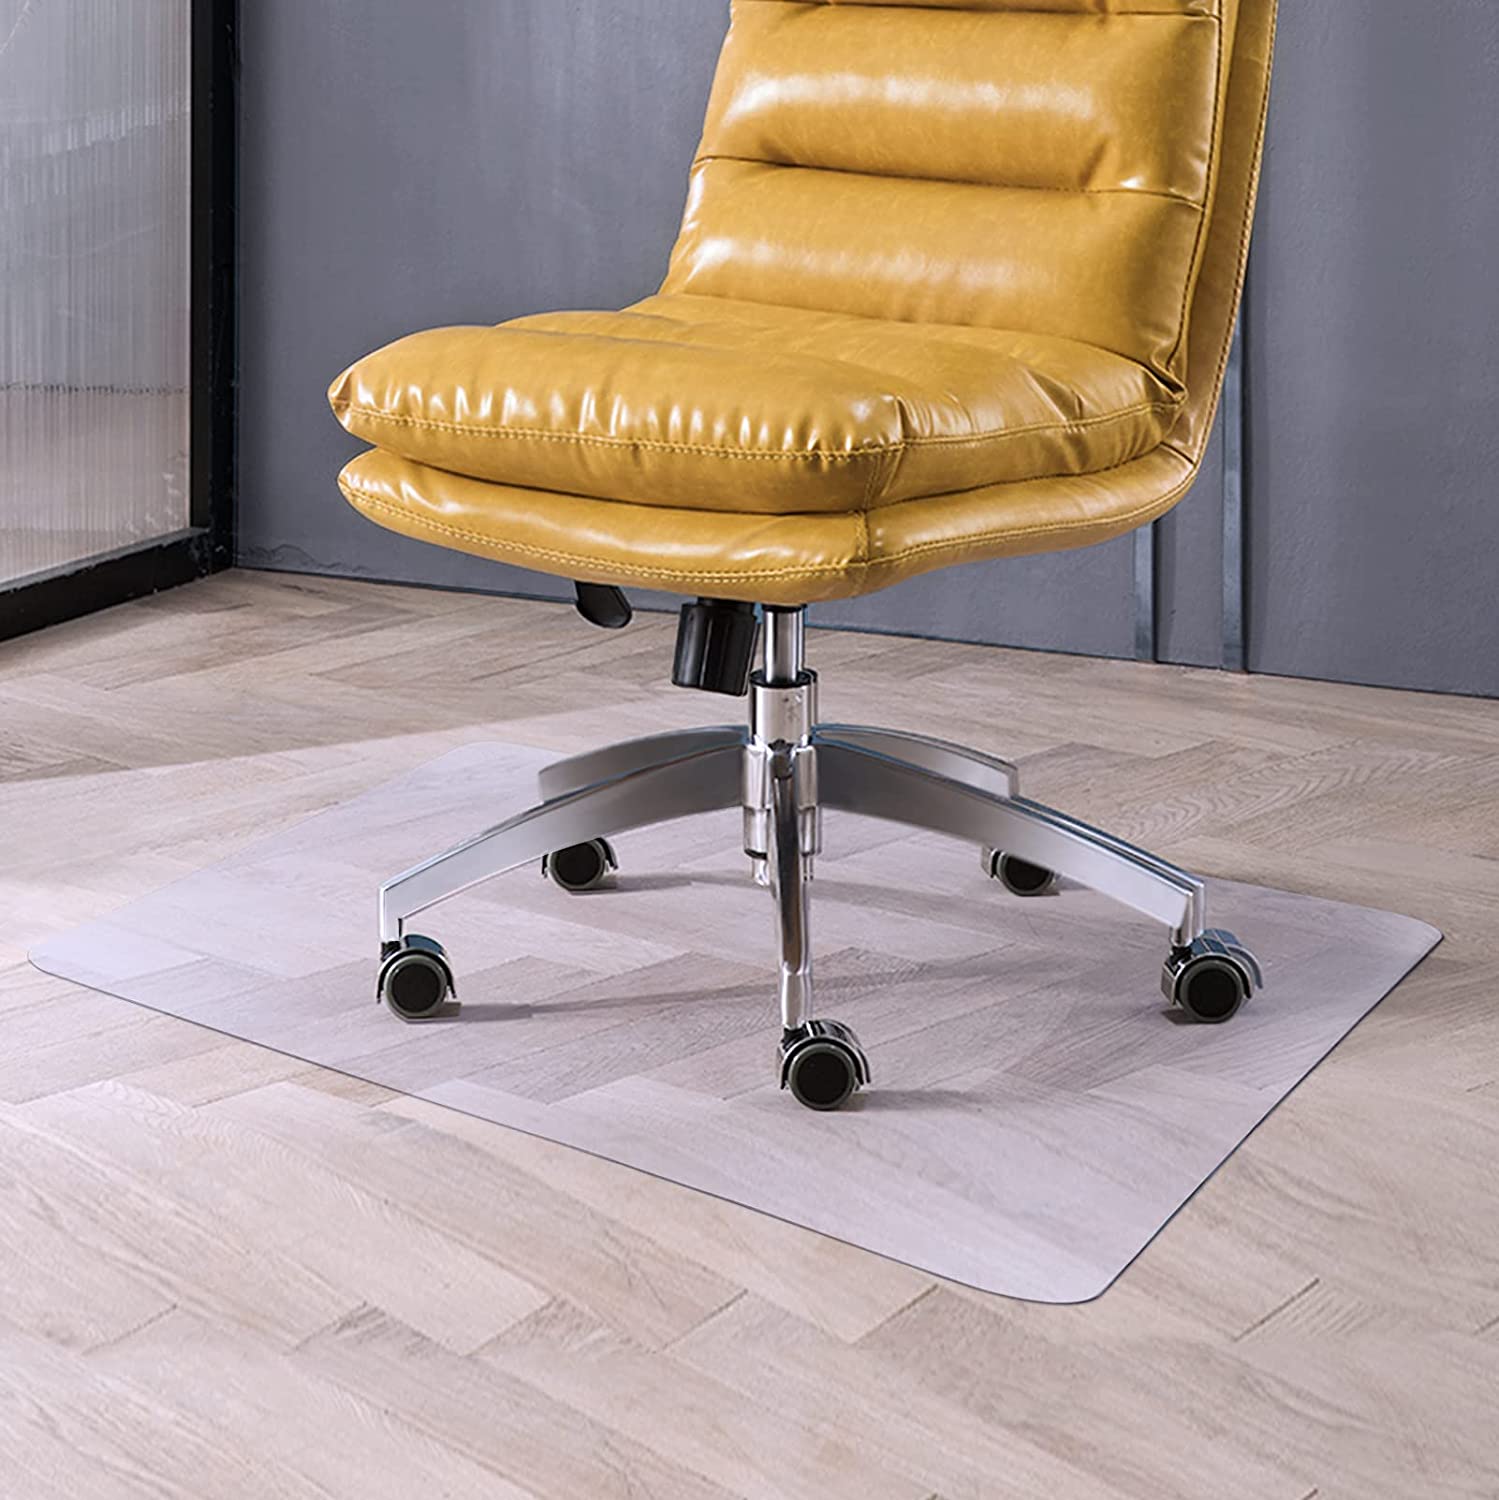
2. Improved Mobility: With a smooth surface to roll on, your chair will glide effortlessly, making it easier to move around your workspace.
3. Noise Reduction: Chair mats can dampen the noise created by chair movement, creating a quieter and more focused work environment.
4. Ergonomic Support: Chair mats can provide cushioning for your feet and reduce fatigue during long work hours.
Before you start creating your DIY office chair mat, gather the following materials:
1. Plywood or acrylic sheet: You can choose between these two materials for your mat base. Plywood is cost-effective, while acrylic has a sleek, modern look.
2. Measuring tape
3. Pencil
4. Saw (if using plywood)
5. Sandpaper
6. Primer and paint (if using plywood)
7. Self-adhesive felt pads
8. Heavy-duty scissors or a utility knife
9. Double-sided carpet tape
Follow these steps to make your very own office chair mat:
Start by measuring the area where you want to place the chair mat. Measure the length and width, ensuring that the mat will cover the entire workspace where your chair moves.
If you're using plywood, use your saw to cut it to the desired size. Sand the edges to make them smooth. If you're using an acrylic sheet, you won't need to cut it.
If you're using plywood and want to add a personal touch, apply primer and paint in your preferred color. Allow it to dry completely before moving on.
On the side of the mat that will be in contact with the floor, attach self-adhesive felt pads at each corner and along the edges. These will prevent your mat from scratching your floors and help it stay in place.
Use heavy-duty scissors or a utility knife to cut a piece of carpet to the same size as your mat. This will serve as a surface for your chair to roll on.
Apply double-sided carpet tape to the back of the carpet piece and stick it to your mat. Make sure it's evenly centered to allow for smooth chair movement.
Once the carpet is securely attached, place your DIY office chair mat in your workspace, carpet-side down. Your chair will now glide smoothly without damaging your floors.
A DIY office chair mat is a practical and cost-effective solution to protect your floors and enhance your workspace. With just a few materials and some simple steps, you can create a mat that improves mobility, reduces noise, and provides ergonomic support. Say goodbye to floor damage and hello to a more efficient and enjoyable office environment!
Fax:+86-(0)21-54409108
E-mail:info@dedaomats.com
Tel/Whatsapp:0086-15000405598
Address:No. 17, Bingang Road, Hairun Street, Taizhou, Zhejiang, China