

Are you tired of spending money on chair mats that don't quite fit your needs or style? Why not take matters into your own hands and create a do it yourself chair mat? In this guide, we will walk you through the process of making your own chair mat from scratch.
Materials needed:

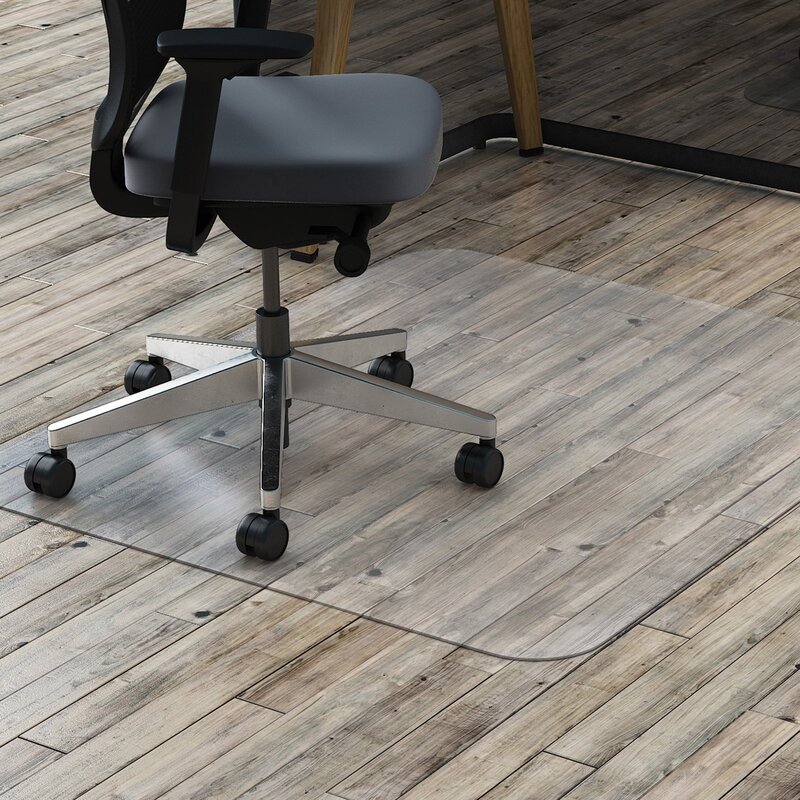
1. Clear vinyl sheet
2. Measuring tape
3. Scissors
4. Double-sided adhesive tape
5. Anti-slip rug grip
Step 1: Measure the dimensions
Begin by measuring the dimensions of your chair area. Determine the length and width required for your chair mat. Ensure that you have enough clear vinyl sheet to accommodate these measurements.
Step 2: Cut the vinyl sheet
Using your measurements as a guide, cut the clear vinyl sheet to the desired size. Make sure to use sharp scissors to achieve a clean and precise cut.
Step 3: Apply double-sided adhesive tape
Take the double-sided adhesive tape and apply it along the edges of the vinyl sheet. This will ensure that the edges are securely sealed and will prevent the mat from unraveling.
Step 4: Attach the rug grip
Place the anti-slip rug grip underneath the vinyl sheet to provide extra stability and prevent the mat from sliding on the floor. Trim the rug grip to match the size of the vinyl sheet if necessary.
Step 5: Test and adjust
Place the DIY chair mat on the floor and test it with your chair. Ensure that it fits well and provides a smooth surface for your chair to glide on. Make any necessary adjustments to the dimensions or placement of the anti-slip rug grip.
Step 6: Enjoy your custom chair mat
Once you are satisfied with the fit and performance of your DIY chair mat, it's time to start enjoying its benefits. Not only will it protect your floors, but it will also add a personal touch to your workspace.
Fax:+86-(0)21-54409108
E-mail:info@dedaomats.com
Tel/Whatsapp:0086-15000405598
Address:No. 17, Bingang Road, Hairun Street, Taizhou, Zhejiang, China