Home
> NEWS > DIY Computer Chair Mat: Protect Your Floors and Customize Your Workspace

DIY Computer Chair Mat: Protect Your Floors and Customize Your Workspace

Writer:DedaoMat    Date:2024/01/30 00:18:26    Clicks: 1160

Are you tired of your computer chair leaving marks and scratches on your beautiful hardwood floors? Do you find the standard chair mats on the market boring and lacking personality? It's time to consider a DIY computer chair mat that not only protects your floors but also adds a touch of customization to your workspace.

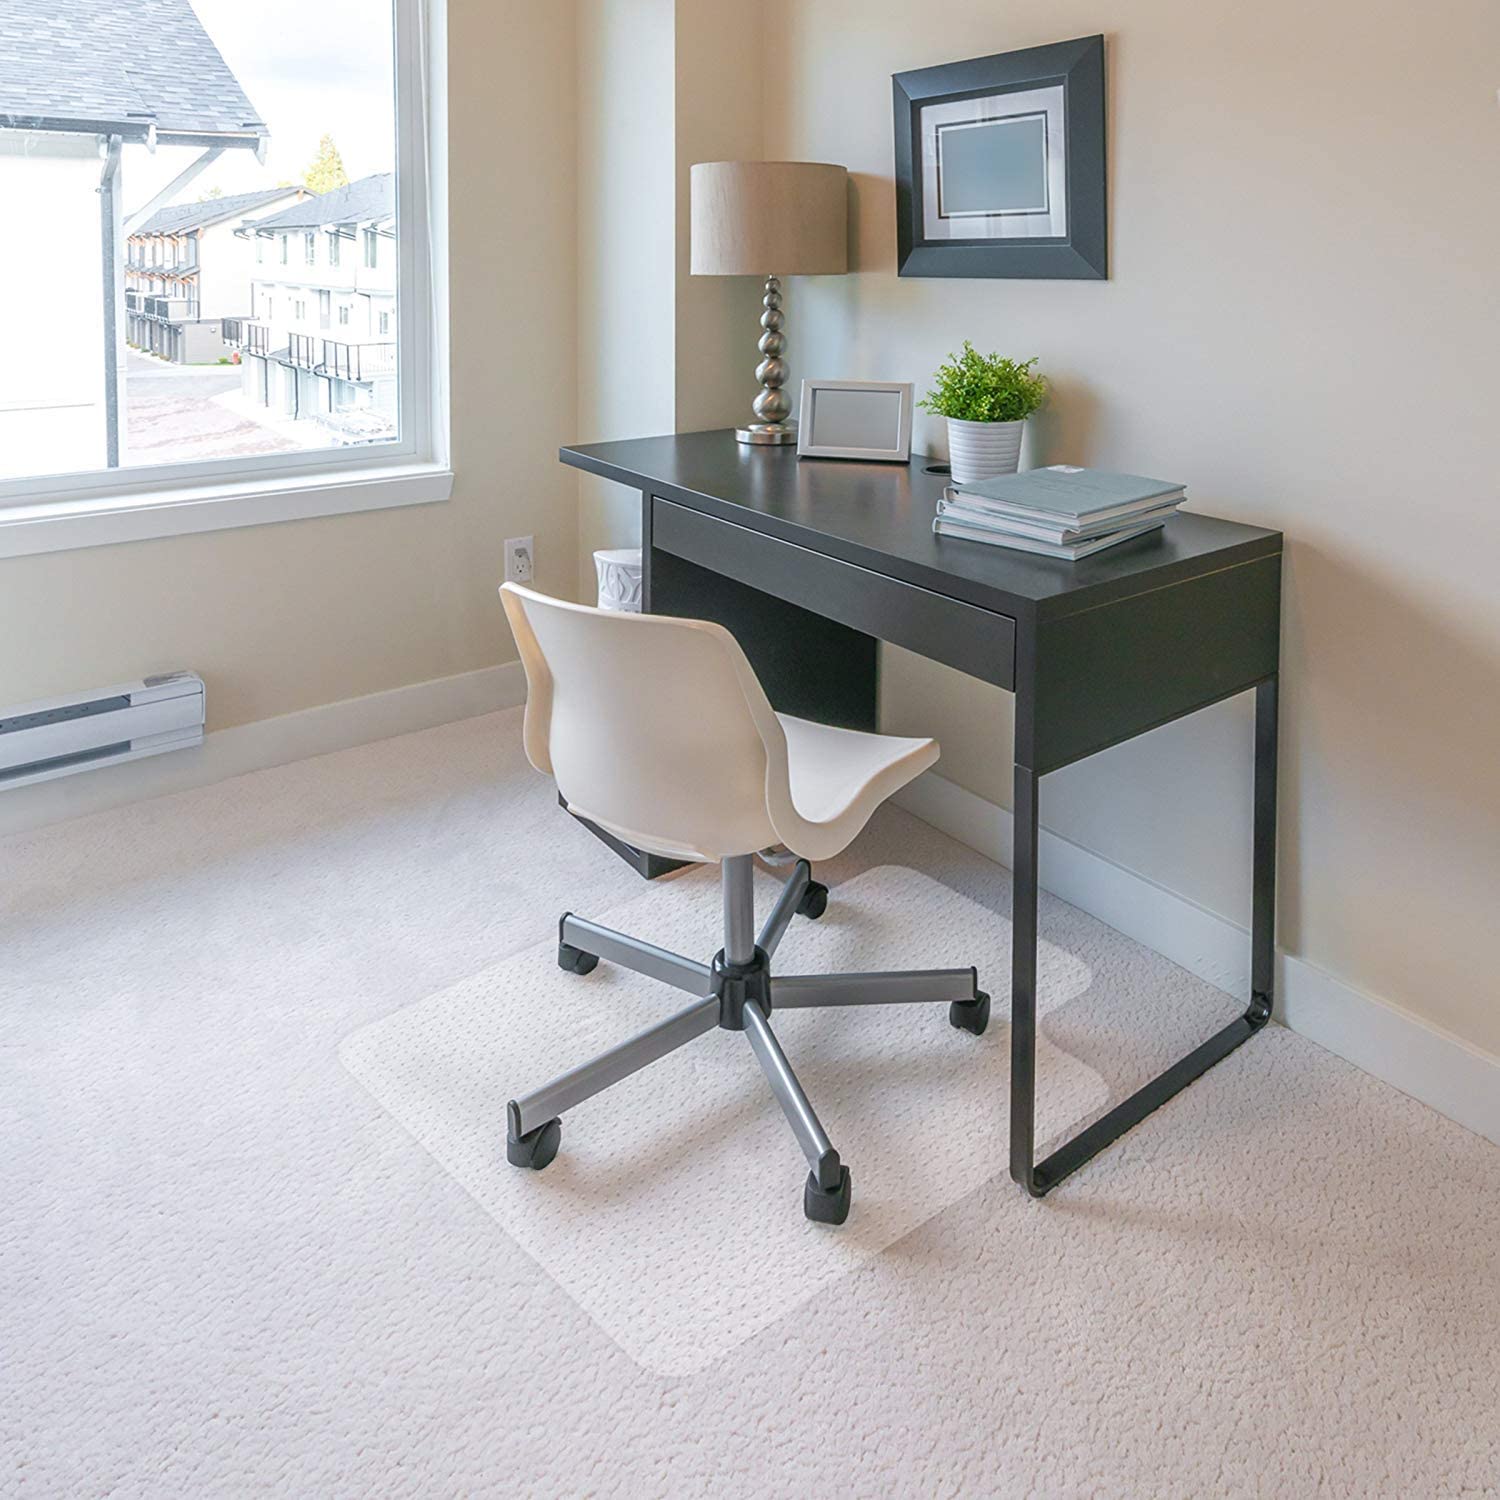
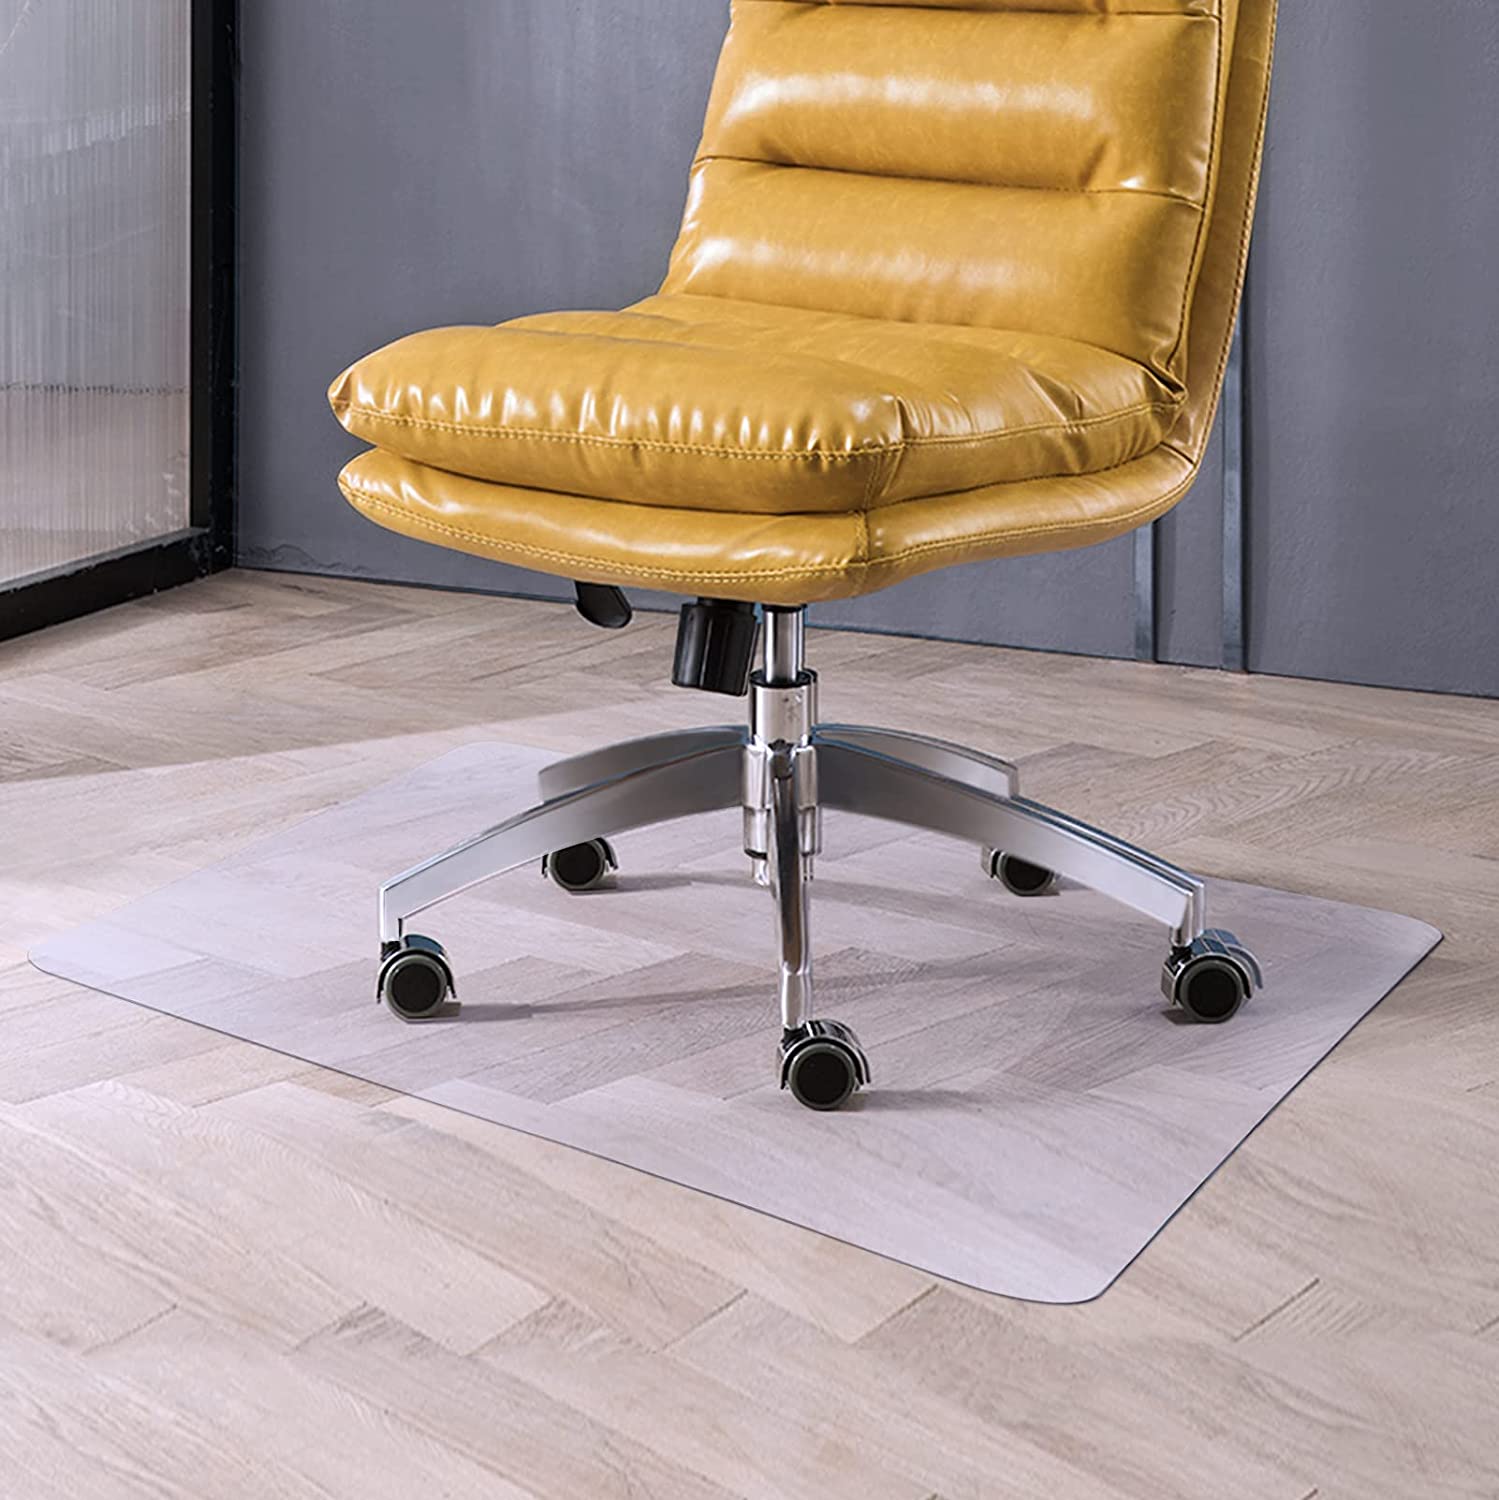
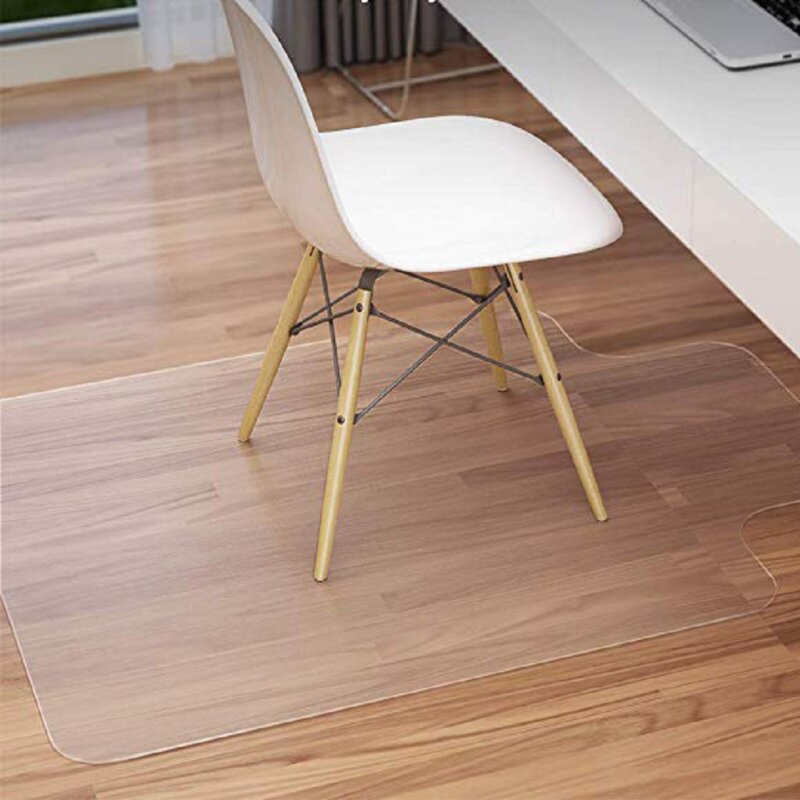
A computer chair mat is essential for anyone who spends long hours sitting at their desk. It not only prevents damage to your floors but also provides a smooth surface for your chair to roll on, making it easier to move around without straining or scratching the floor's surface. While there are plenty of pre-made chair mats available, making your own allows you to personalize it to your liking and save some money in the process.

Materials Needed

Before diving into the DIY process, gather the following materials:

  • Transparent vinyl sheet
  • Measuring tape
  • Utility knife or scissors
  • Adhesive or double-sided tape
  • Decorator fabric or contact paper (optional)

Step-by-Step Guide

Follow these simple steps to create your own DIY computer chair mat:

  1. Measure your workspace: Use a measuring tape to determine the dimensions of the area you want to cover. Ensure you have enough space to move around comfortably.
  2. Trim the vinyl sheet: Using a utility knife or scissors, cut the vinyl sheet to match the measurements you took in the previous step. Make sure to leave an extra inch or two on each side for extra protection.
  3. Protect the edges: To prevent the vinyl from curling or becoming a tripping hazard, seal the edges. You can use adhesive or double-sided tape to secure the edges firmly and create a smooth, finished look.
  4. Add a personal touch: If you want to go the extra mile and make your DIY computer chair mat visually appealing, consider decorating it with a decorator fabric or contact paper. Measure and cut the fabric or contact paper to fit the vinyl sheet, and carefully apply it on top. This step is optional but can add a pop of color or pattern to your workspace.
  5. Let it settle: Once you have completed all the steps, allow the DIY computer chair mat to settle for a few hours before placing it on the floor. This will help ensure that any adhesive used has dried completely and won't damage your flooring.

That's it! You've successfully created your very own DIY computer chair mat. Not only will it protect your floors and prevent any unwanted scratches, but it will also bring a unique and personalized touch to your workspace.

Benefits of DIY Computer Chair Mats

By opting for a DIY computer chair mat, you enjoy several benefits:

  1. Cost savings: Making your own chair mat is generally more budget-friendly than purchasing a pre-made one.
  2. Customization: With a DIY approach, you have the freedom to choose the materials, designs, and patterns that best suit your preferences and workspace decor.
  3. Durability: DIY chair mats can be just as durable as store-bought ones, ensuring long-lasting protection for your floors.
  4. Easy replacement: If your DIY chair mat gets damaged or worn out over time, you can easily create a new one without breaking the bank.

Conclusion

A DIY computer chair mat not only serves the practical purpose of protecting your floors from damage but also allows you to personalize your workspace. With just a few materials and simple steps, you can create a custom chair mat that reflects your style and adds an element of fun to your office environment. So, why settle for a generic chair mat when you can showcase your creativity and save money at the same time? Get started on your DIY project today!

Update cookies preferences