

Are you tired of your office chair leaving unsightly scratches and dents on your beautiful hardwood floors? A DIY office chair mat is the perfect solution to this problem. Not only will it protect your floors from damage, but it can also add a touch of style to your workspace. In this article, we will guide you through the process of creating your very own DIY office chair mat, ensuring that it complements your office decor while keeping your floors in pristine condition.
What is a DIY Office Chair Mat?
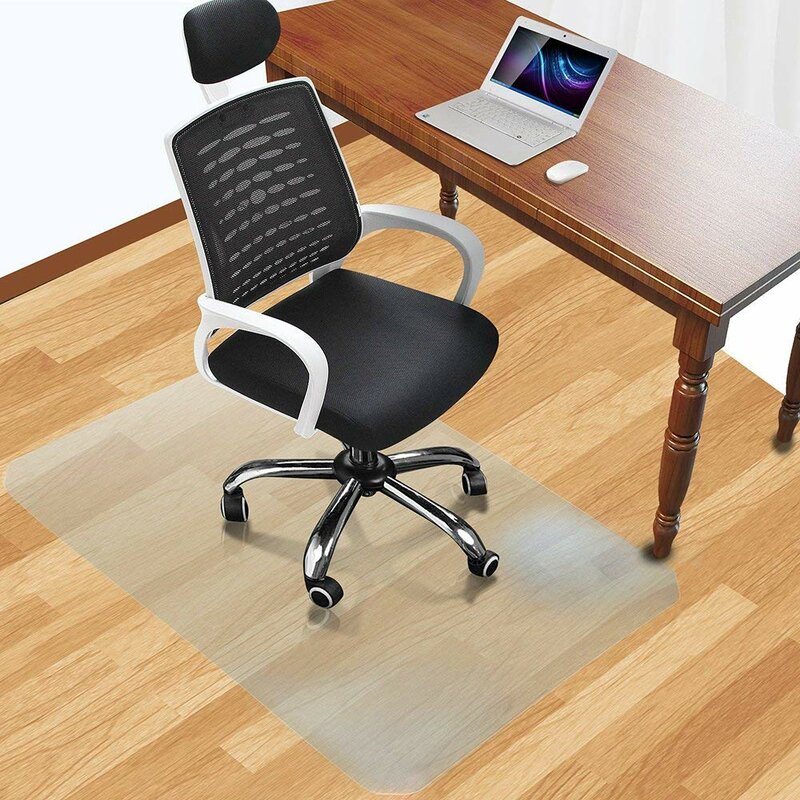
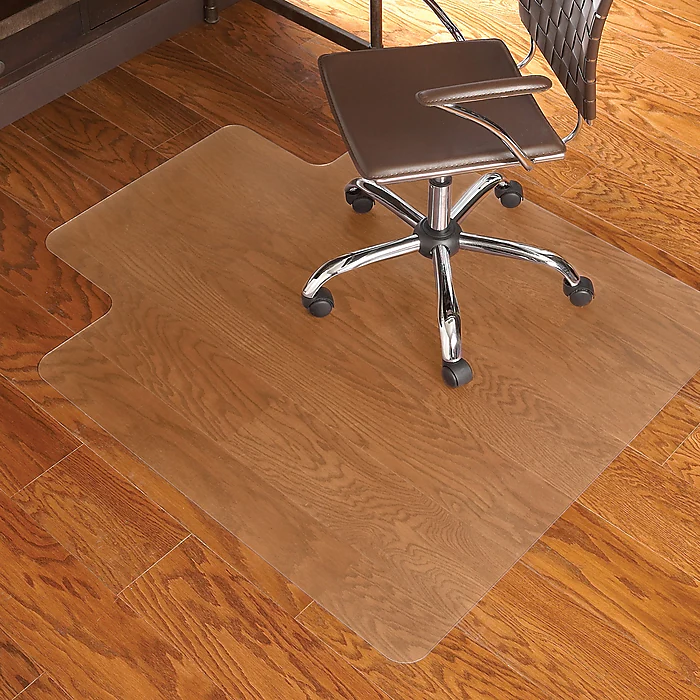
A DIY office chair mat is a custom-made floor protector designed to fit perfectly under your desk and chair. It is typically made from durable and transparent materials that allow your floor to show through while safeguarding it from scratches, scuffs, and spills. These mats come in various shapes, sizes, and designs, allowing you to choose one that matches your office aesthetics.
Advantages of Creating Your Own Office Chair Mat
1. Cost-Efficiency: Purchasing a pre-made office chair mat can be expensive. DIY mats are not only budget-friendly but also offer customization options.
2. Personalization: With a DIY office chair mat, you have the freedom to choose the material, shape, and design that best suits your office space.
3. Eco-Friendly: Many commercial chair mats are made from non-recyclable materials. By crafting your own, you can opt for eco-friendly, sustainable options.
Materials Needed for DIY Office Chair Mat
Before you embark on creating your DIY office chair mat, gather the following materials:
1. Transparent plastic sheet or plexiglass
2. Measuring tape
3. Marker or pen
4. Cutting tool (e.g., utility knife or scissors)
5. Sandpaper
6. Adhesive or non-slip backing
Step-by-Step Guide to Creating Your DIY Office Chair Mat
Follow these steps to make your own office chair mat:
Step 1: Measure Your Workspace
Begin by measuring the area beneath your desk and chair to determine the size and shape of the mat you need. Ensure the mat extends a few inches beyond the chair's range of motion.
Step 2: Mark and Cut the Material
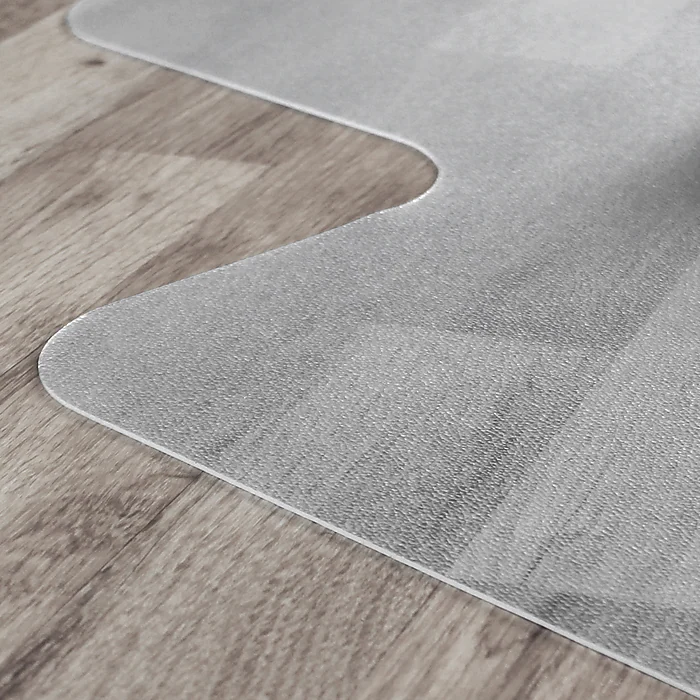
Mark the measurements on the transparent plastic sheet or plexiglass. Use a straightedge to ensure precise lines. Carefully cut along the marked lines using your cutting tool.
Step 3: Smooth the Edges
After cutting, use sandpaper to smooth the edges of your mat. This will prevent any sharp or rough areas that could damage your flooring or the chair's wheels.
Step 4: Apply Non-Slip Backing
Attach adhesive or non-slip backing to the underside of your DIY office chair mat. This will keep it securely in place, preventing any unwanted movement while you work.
Step 5: Place Your Mat
Once the non-slip backing is in place, position your custom mat beneath your desk and chair. Enjoy the protection it provides to your floors and the aesthetic improvement it brings to your office space.
Final Thoughts
A DIY office chair mat is a practical and stylish addition to any workspace. It not only safeguards your floors but also adds a touch of personalization to your office decor. By creating your own mat, you have the freedom to choose materials and designs that suit your preferences and budget.
Fax:+86-(0)21-54409108
E-mail:info@dedaomats.com
Tel/Whatsapp:0086-15000405598
Address:No. 17, Bingang Road, Hairun Street, Taizhou, Zhejiang, China