

Are you tired of your office chair constantly scratching and damaging your floor? A wood chair mat can be the perfect solution to protect your floors while adding a touch of elegance to your workspace. In this article, we will guide you through the process of making your own wood chair mat. Follow these simple steps and enjoy a durable and stylish chair mat that perfectly complements your office decor.
To create your own wood chair mat, gather the following materials:
1. Wood planks - Choose a sturdy and durable wood, such as oak or bamboo.
2. Measuring tape - For accurate measurements.
3. Saw - To cut the wood planks to the desired size.
4. Sandpaper - To smooth the edges and surface of the wood.
5. Wood glue - For securing the planks together.
6. Clear varnish or sealant - To protect the wood and enhance its appearance.
7. Paintbrush - For applying the varnish or sealant.
Follow these steps to create your own wood chair mat:
Begin by measuring the area where you want to place your chair mat. Take accurate measurements of the length and width.
Using a saw, cut the wood planks to match the dimensions you have measured. Make sure the planks are of equal length and width.
After cutting the planks, use sandpaper to smooth the edges and the surface of the wood. This will prevent any splinters and provide a polished finish.
Arrange the wood planks in the desired pattern. You can go for a traditional grid pattern or get creative with a herringbone or chevron design. Ensure that the planks fit snugly together without any gaps.
Apply wood glue along the edges of each plank and press them firmly together. Use clamps or heavy objects to hold them in place until the glue dries completely. Follow the instructions on the wood glue for the recommended drying time.
Once the planks are securely attached, apply a clear varnish or sealant to protect the wood from spills and scratches. Use a paintbrush to evenly coat the entire surface. Allow the varnish or sealant to dry as per the product instructions.
After the varnish or sealant has dried completely, let the wood chair mat set for at least 24 hours before placing it on the floor. This will ensure that it is fully cured and ready to use.
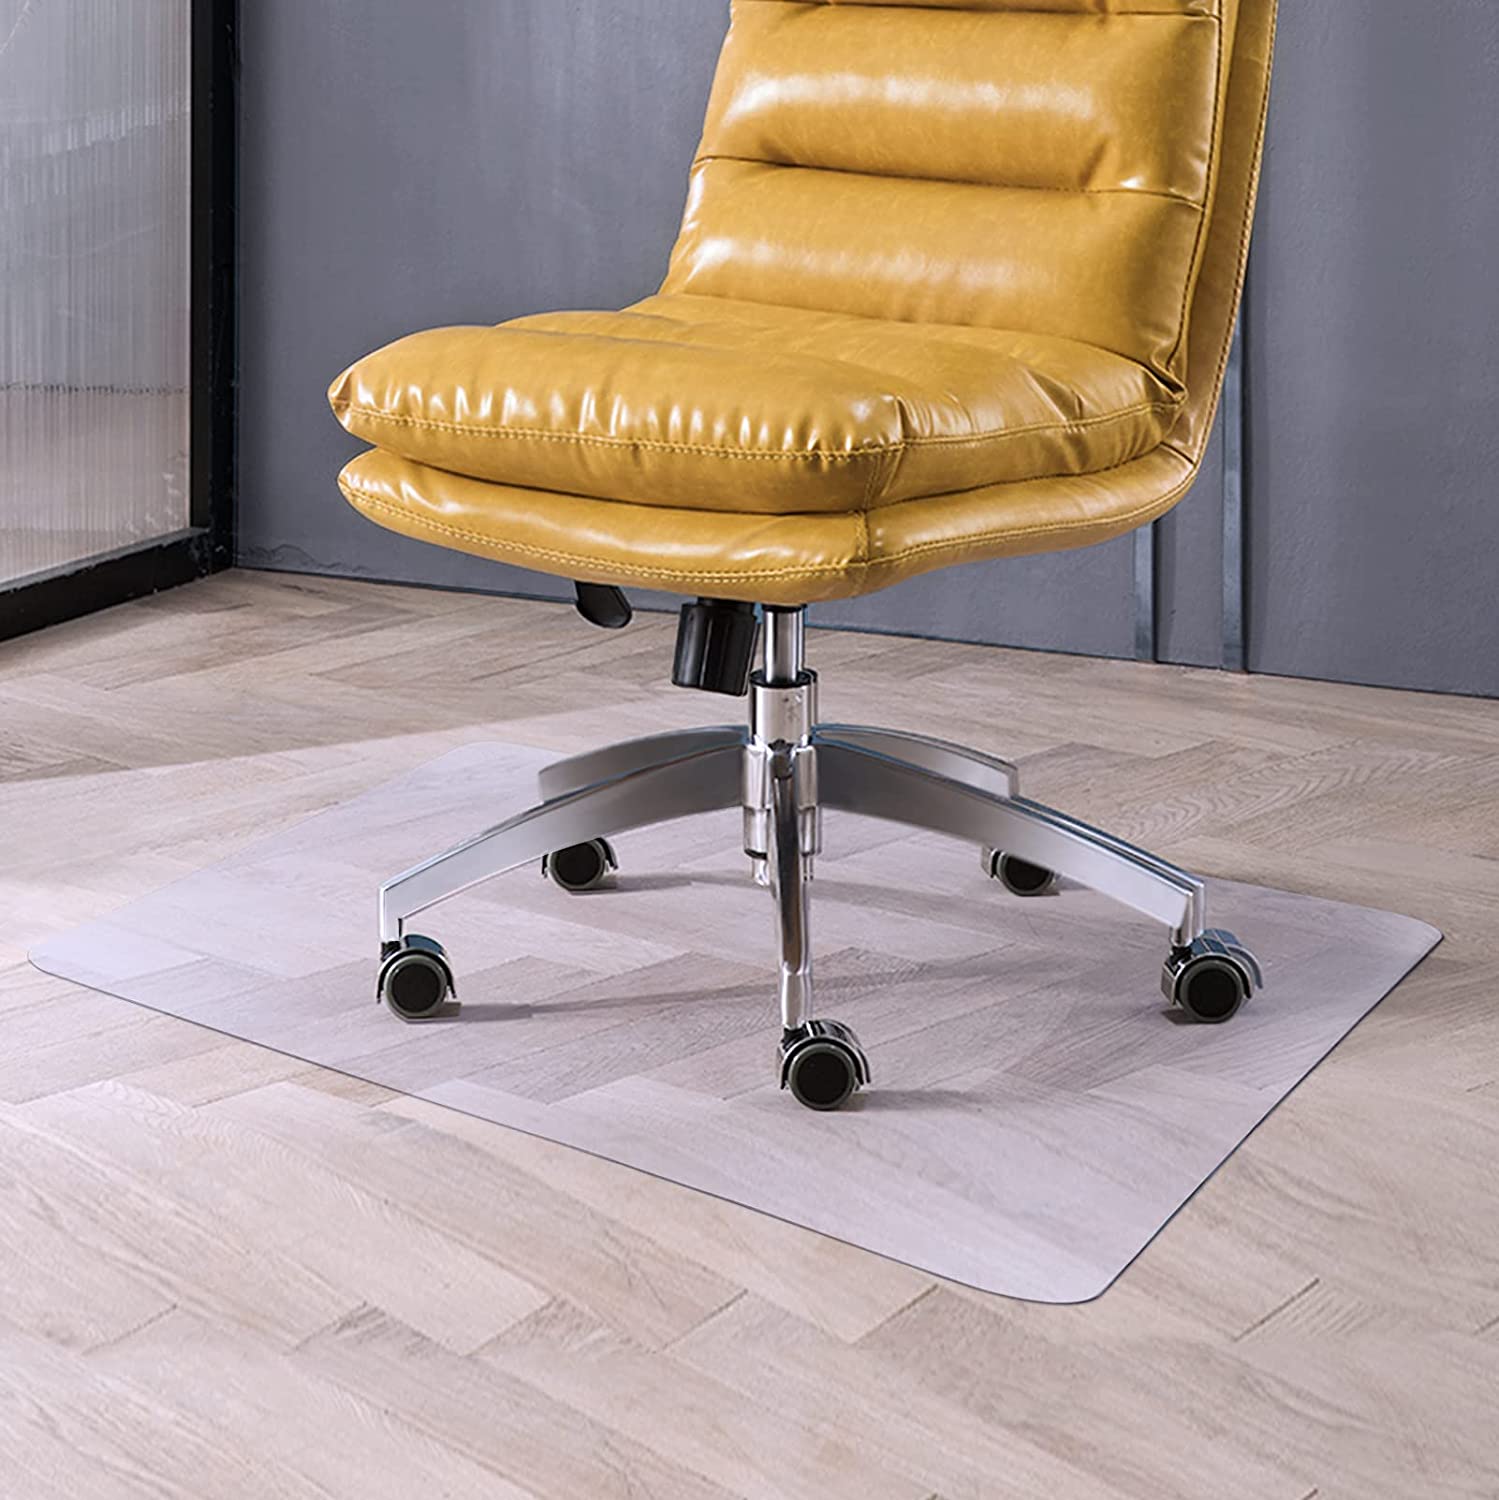
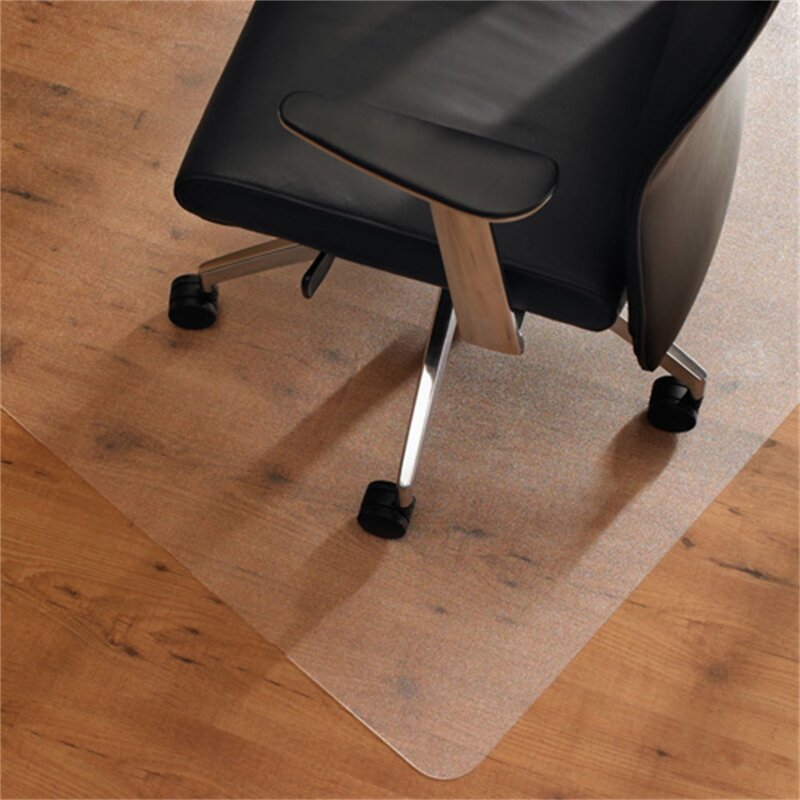
Now that your wood chair mat is ready, you can place it under your office chair and enjoy its benefits. Not only will it protect your floors from scratches and damage, but it will also add a touch of sophistication to your workspace.
Fax:+86-(0)21-54409108
E-mail:info@dedaomats.com
Tel/Whatsapp:0086-15000405598
Address:No. 17, Bingang Road, Hairun Street, Taizhou, Zhejiang, China