

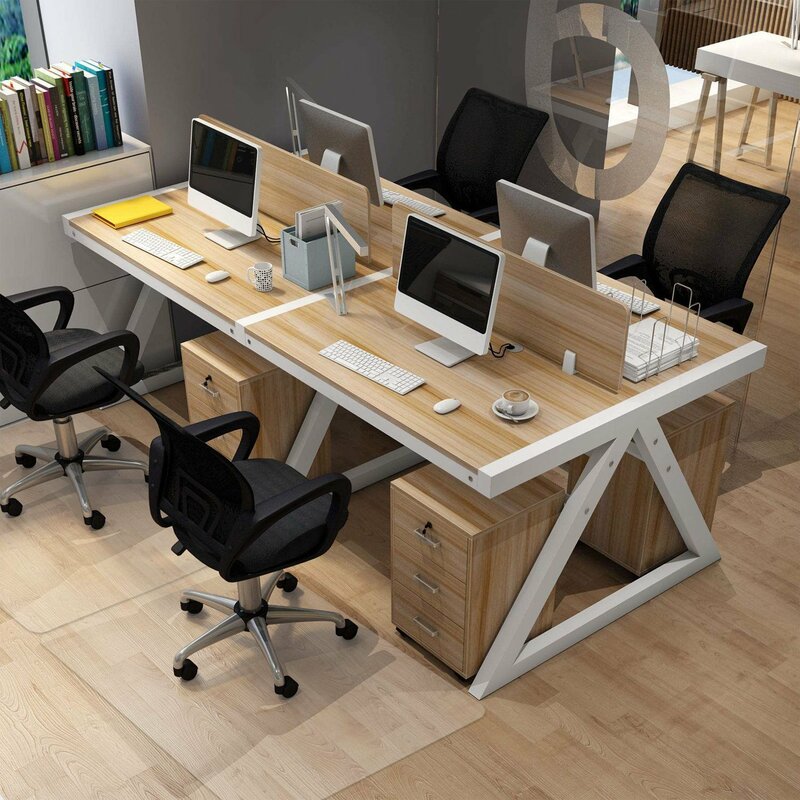
Are you tired of your office chair leaving ugly marks on your beautiful hardwood floors? Look no further! Building a chair mat is the perfect solution to protect your floors and add a touch of style to your workspace. In this comprehensive guide, we will walk you through the steps of creating your own chair mat that not only safeguards your floors but also enhances the aesthetic appeal of your office.

Why do you need a chair mat, you ask? Well, chair mats serve as a barrier between your office chair and the floor, preventing scratches, scuffs, and dents caused by the movement of the chair wheels. Additionally, they help in reducing the noise and providing a smooth surface for easy chair maneuverability.
Now, let's dive into the step-by-step process of building a chair mat:
To start building your chair mat, you will need the following materials:
Measure the dimensions of your workspace area where you want to place the chair mat. Use a measuring tape or ruler to accurately measure the length and width. Once measured, carefully cut the plywood or plastic sheet using a saw to match the dimensions.
After cutting the plywood or plastic sheet, take sandpaper and smooth out any rough edges. This will not only make the mat safe to handle but also prevent any splintering or scratching of your floors.
Apply adhesive evenly on the underside of the chair mat. Make sure to choose an adhesive suitable for your floor type. Gently place the mat onto the floor, aligning it perfectly with the measurements. Press down firmly to ensure a secure attachment.
Once the chair mat is securely attached, you can add a layer of varnish or sealant to protect the surface from spills and stains. If desired, you can also paint or stain the mat to match your office decor and personal style.
And there you have it! Your very own custom-built chair mat is ready to protect your floors and elevate your office space. Now you can move around your workspace with ease, knowing that your floors are safe from unsightly markings.
Building a chair mat is a simple and cost-effective solution to safeguarding your floors from the damaging effects of a rolling office chair. By following the steps outlined in this guide, you can create a chair mat that not only serves its purpose but also adds a touch of elegance to your workspace. So, don't wait any longer – start building your chair mat today and enjoy a floor-friendly and aesthetically pleasing office environment!
Fax:+86-(0)21-54409108
E-mail:info@dedaomats.com
Tel/Whatsapp:0086-15000405598
Address:No. 17, Bingang Road, Hairun Street, Taizhou, Zhejiang, China