

If you have a little one who is starting to explore the world of solid foods, you know how messy mealtime can be. With food flying and plates tipping over, it’s important to have a clean and safe space for your child to eat. That’s where a high chair mat comes in handy. In this article, we will guide you through the process of making your own high chair mat DIY style, so you can protect your floor in style.
Before we dive into the DIY instructions, let’s talk about the benefits of using a high chair mat. First and foremost, it provides a protective barrier between your child’s high chair and your floor. This means you won't have to worry about food stains or scratches on your beautiful hardwood or carpeted flooring.
Additionally, a high chair mat makes cleaning up after mealtime a breeze. Simply wipe or rinse off any mess that spills onto the mat, and you're good to go. No more scrubbing the floor on your hands and knees!
Now, let’s get into the fun part - making your own high chair mat. Here are the steps to follow:
To create your high chair mat, you will need the following materials:
Start by measuring the area around your child's high chair to determine the size of the mat you'll need. Make sure to leave some extra space for the chair to move around without going off the mat.
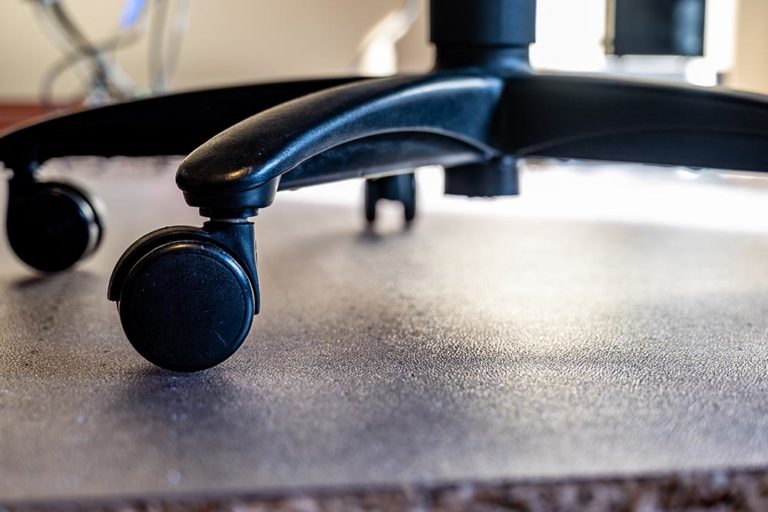
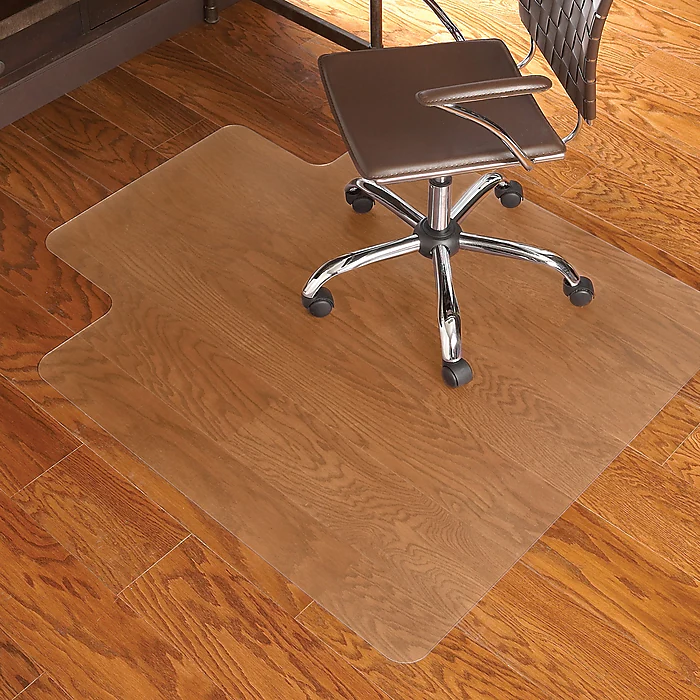
Using the measurements, cut the transparent vinyl fabric to the appropriate size. Remember to round the corners to prevent any sharp edges.
Now comes the fun part - designing your high chair mat! Take out your fabric markers and let your creativity run wild. You can draw colorful shapes, write your child's name, or even create a fun food-themed pattern.
Keep in mind that the markers should be permanent and non-toxic. This ensures that the design won't fade or pose any harm to your child.
Once you're happy with your design, let the fabric markers dry completely. This usually takes a few hours, but it's best to check the instructions on the markers for specific drying times.
Finally, lay your custom-made high chair mat on the floor beneath your little one's high chair. Make sure it's positioned securely and doesn't obstruct any movement of the chair. Now you're ready for mess-free mealtime!
With your DIY high chair mat, you can protect your floor while adding a personal touch to your child's eating space. Say goodbye to the days of worrying about food stains and scratches!
A high chair mat is a practical and stylish addition to your baby's mealtime routine. By creating your own high chair mat DIY style, you can ensure the perfect fit and design that matches your style. Follow the steps outlined in this article and enjoy mess-free meals with your little one!
Fax:+86-(0)21-54409108
E-mail:info@dedaomats.com
Tel/Whatsapp:0086-15000405598
Address:No. 17, Bingang Road, Hairun Street, Taizhou, Zhejiang, China