

If you're tired of the standard chair mats available in the market and want a customized solution that perfectly fits your space, consider building your own chair mat. In this comprehensive guide, we'll walk you through the process of creating a personalized chair mat that not only protects your floors but also adds a touch of uniqueness to your workspace.
Before you start building your chair mat, gather all the necessary materials. You'll need a clear vinyl sheet, a ruler, a utility knife, a pencil, and double-sided carpet tape. Ensure that the vinyl sheet is thick enough to provide ample protection to your floors.
Begin by measuring the dimensions of your workspace where the chair mat will be placed. Use a ruler to mark these dimensions on the back of the vinyl sheet. Make sure to leave some extra inches on each side to account for any movement or adjustments needed.
Once you've marked the dimensions, carefully cut the vinyl sheet along the marked lines using a utility knife. Take your time to ensure clean and straight cuts. This will be the main body of your chair mat.
To enhance the aesthetics and prevent sharp corners, consider rounding the edges of your chair mat. Use a round object, such as a small plate, to trace and cut rounded corners. This step adds a professional finish to your DIY chair mat.
With your chair mat ready, it's time to secure it to the floor. Apply double-sided carpet tape along the edges of the mat. Press firmly to ensure a strong bond with the floor. This tape not only keeps the mat in place but also prevents any dust or debris from getting underneath.
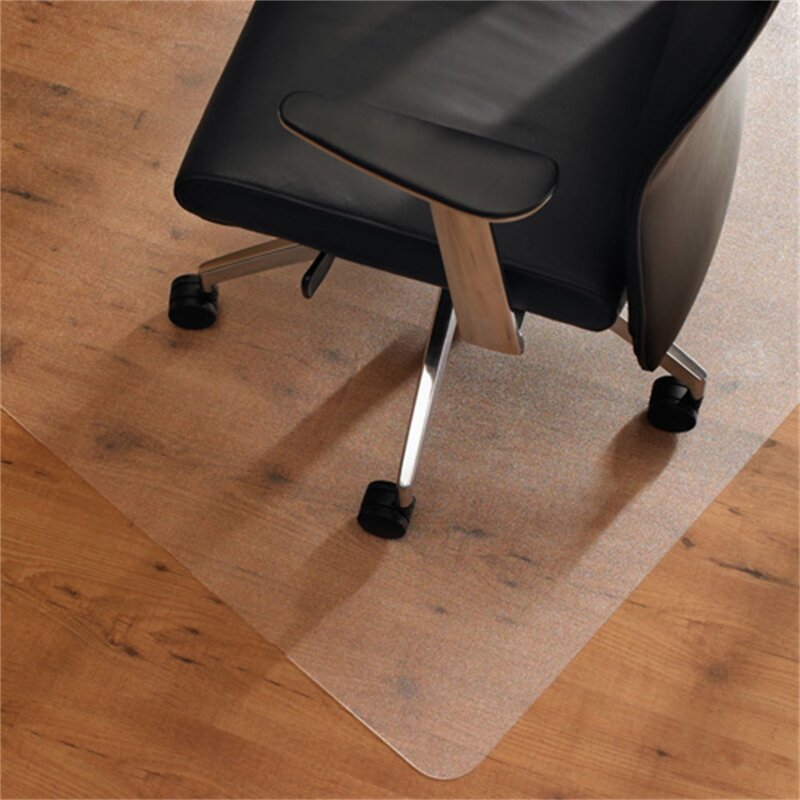
Before placing your chair on the mat, test for stability by rolling your chair over it. Ensure that the mat stays securely in place and does not shift during movement. This step guarantees that your DIY chair mat is both functional and reliable.
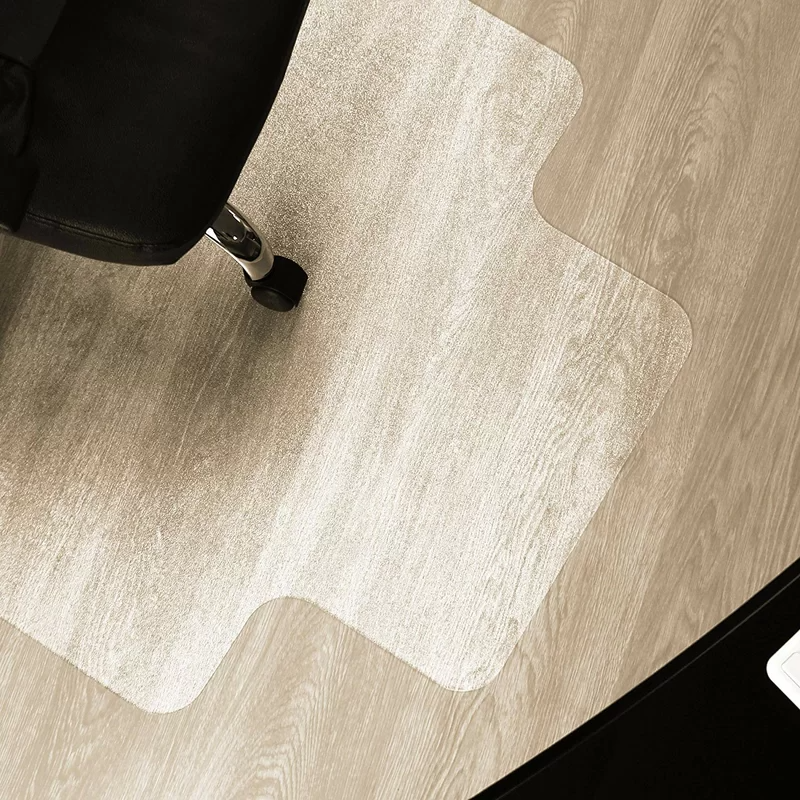
Now that your custom chair mat is in place, you can enjoy a personalized and stylish addition to your workspace. Not only does it protect your floors, but it also reflects your creativity and DIY spirit.
Fax:+86-(0)21-54409108
E-mail:info@dedaomats.com
Tel/Whatsapp:0086-15000405598
Address:No. 17, Bingang Road, Hairun Street, Taizhou, Zhejiang, China