

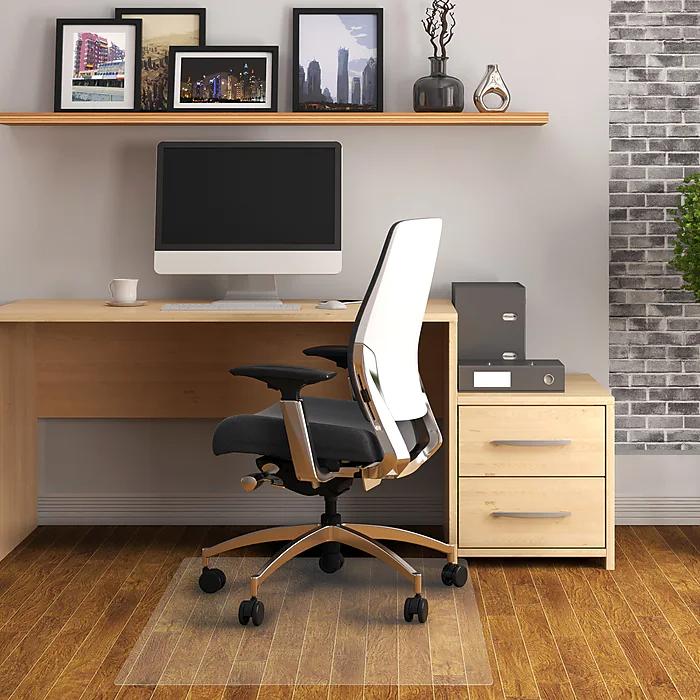
Are you tired of those uncomfortable, standard chair mats? Why not create your own custom hardwood chair mat that not only enhances the aesthetic of your workspace but also provides exceptional durability? In this guide, we'll walk you through the step-by-step process of crafting a hardwood chair mat that combines functionality with elegance.
Materials You'll Need:
1. Hardwood panels (oak, maple, or cherry for a classic touch)
2. Measuring tape
3. Saw
4. Sandpaper (various grits)
5. Wood glue
6. Varnish or sealant
7. Paintbrush
Step 1: Measure and Mark
Start by measuring the dimensions of your chair area. Mark the measurements on the hardwood panels using a pencil and ruler. This will serve as your guide during the cutting process.
Step 2: Cutting the Panels
Use a saw to carefully cut the hardwood panels according to the marked dimensions. Ensure smooth and precise cuts to achieve a professional-looking chair mat.
Step 3: Sanding for Smoothness
After cutting, use sandpaper with progressively finer grits to smooth the edges and surfaces of the hardwood panels. This step is crucial for both appearance and comfort.
Step 4: Assembling the Mat
Apply wood glue to the edges of the panels and carefully join them together. Allow sufficient time for the glue to dry and create a strong bond. This will form the foundation of your hardwood chair mat.
Step 5: Finishing Touches
Once the glue is dry, apply a layer of varnish or sealant to protect the hardwood and enhance its natural beauty. Use a paintbrush for even application, and let it dry completely before placing the mat under your chair.
Fax:+86-(0)21-54409108
E-mail:info@dedaomats.com
Tel/Whatsapp:0086-15000405598
Address:No. 17, Bingang Road, Hairun Street, Taizhou, Zhejiang, China