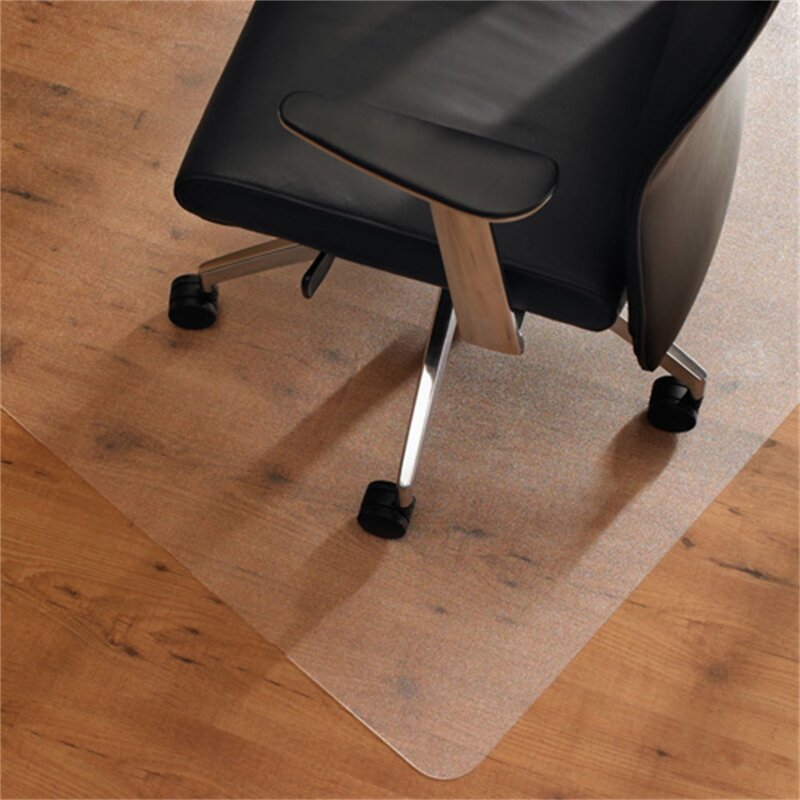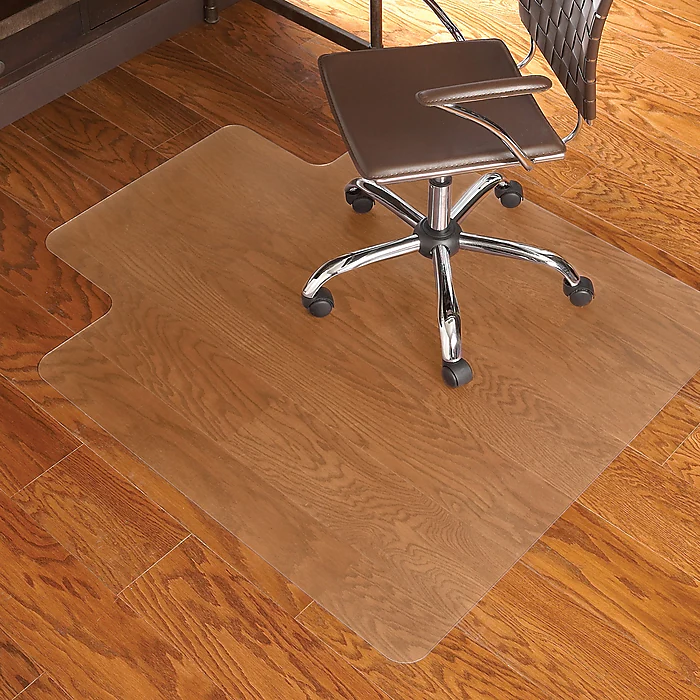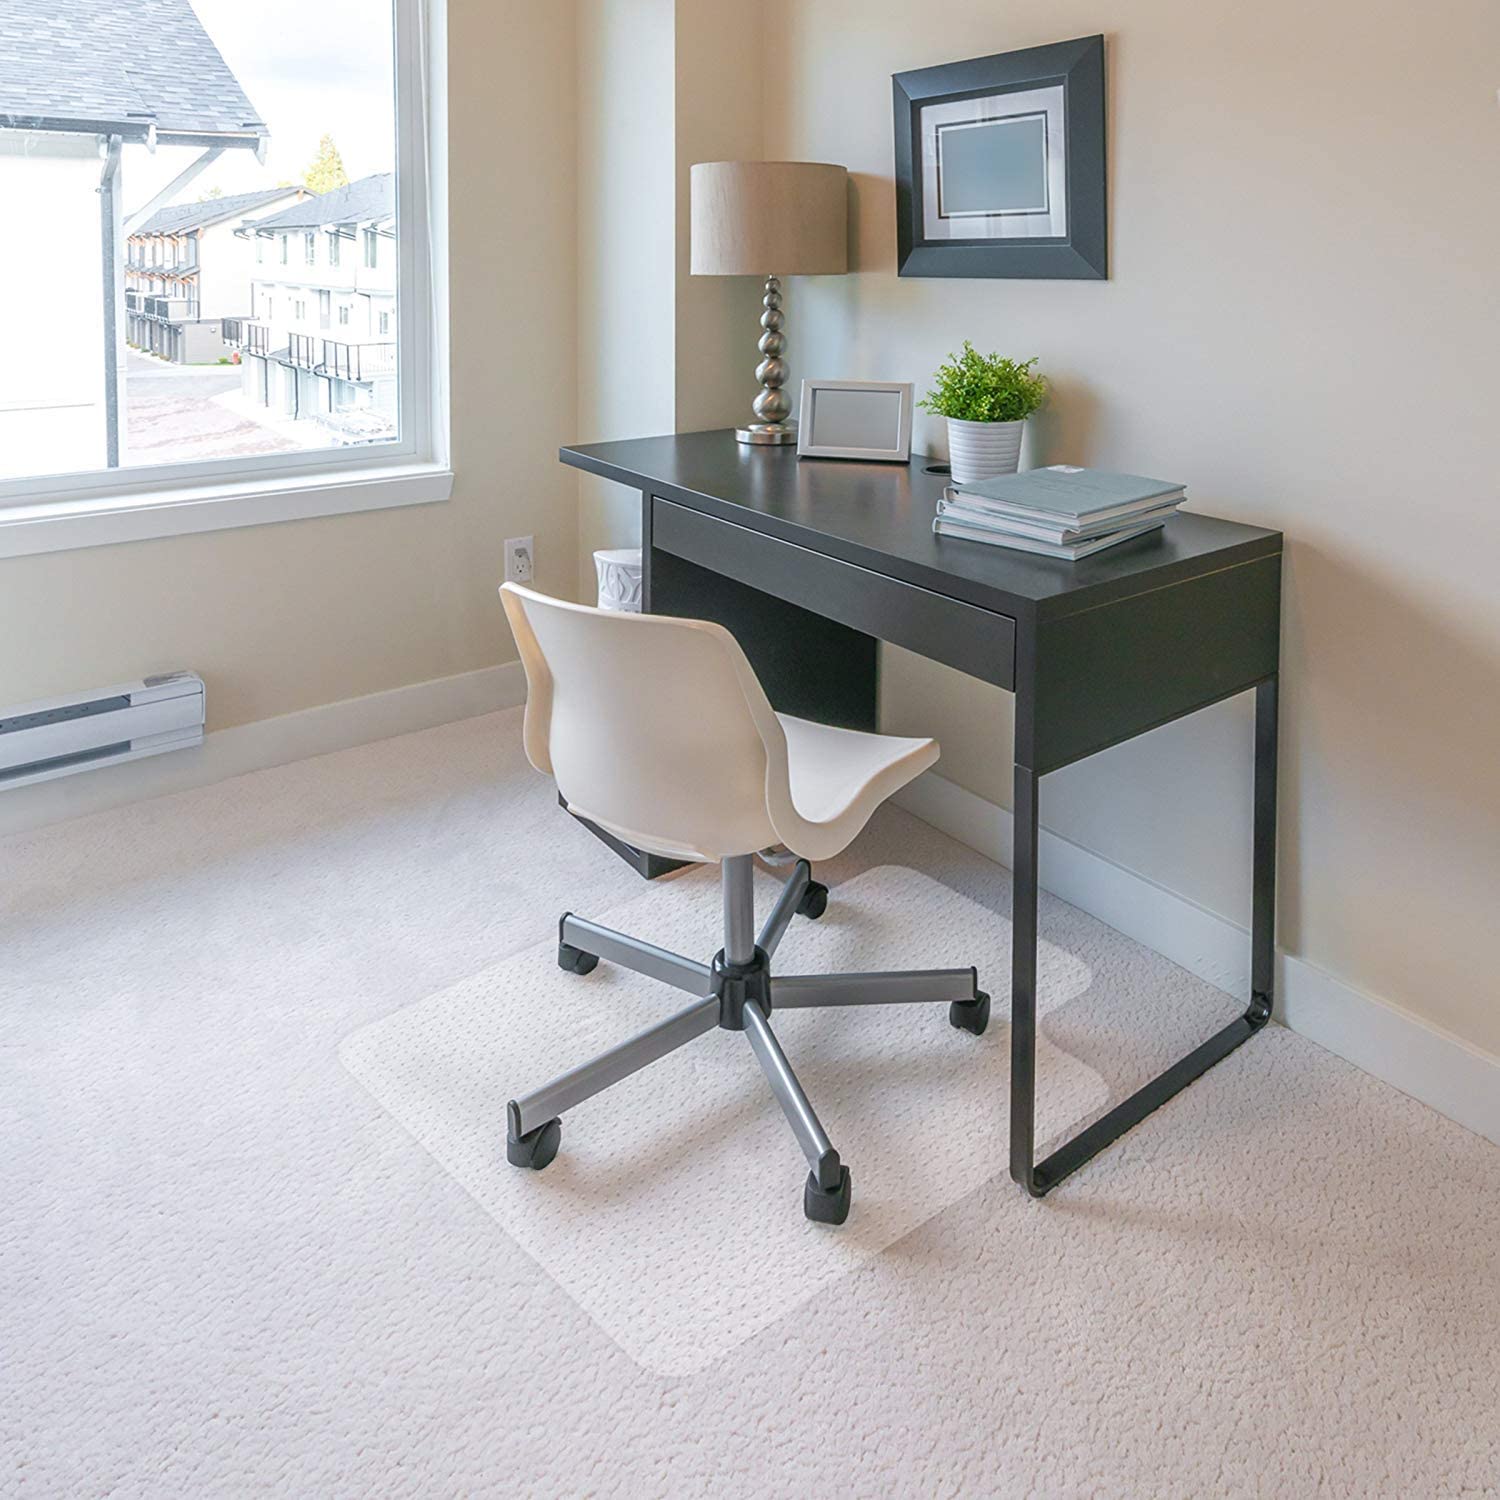
Are you tired of your office chair damaging the floor or leaving unsightly marks? Building your own chair mat can be a practical and cost-effective solution. In this guide, we will walk you through the process of creating a durable and customized chair mat for your workspace.

Materials You'll Need:
Before diving into the construction process, gather the following materials:
Step 1: Measure and Cut

Start by measuring the dimensions of your workspace where the chair mat will be placed. Use the measuring tape to ensure accuracy. Once you have the measurements, mark them on the MDF board. Carefully cut the board to the desired size using a saw.
Step 2: Smooth the Edges
After cutting the board, use sandpaper to smooth the edges. This step is crucial to prevent any splinters or rough surfaces that could damage your floor or carpet.
Step 3: Apply Wood Glue
Apply wood glue evenly on the bottom side of the MDF board. Make sure to spread the glue uniformly to ensure a strong bond between the board and the floor.
Step 4: Press and Secure
Carefully place the MDF board on the floor, glue side down. Apply gentle pressure to ensure proper adhesion. You can place some weights on the board temporarily to help with this process. Allow the glue to dry completely.
Step 5: Seal with Polyurethane
Once the glue is dry, apply a clear polyurethane finish to the top side of the chair mat. This not only adds a protective layer but also gives a polished look to your DIY creation. Allow the finish to dry thoroughly before moving the chair mat into place.
Step 6: Add Protective Pads
To prevent the chair mat itself from causing damage, attach rubber or felt pads to the bottom corners. This additional layer will provide extra protection for both the mat and your floor.
Enjoy Your Custom Chair Mat!
Congratulations! You have successfully built your own chair mat. Not only is it a functional addition to your workspace, but it also adds a personal touch. Now you can move your chair freely without worrying about floor damage.
Fax:+86-(0)21-54409108
E-mail:info@dedaomats.com
Tel/Whatsapp:0086-15000405598
Address:No. 17, Bingang Road, Hairun Street, Taizhou, Zhejiang, China