

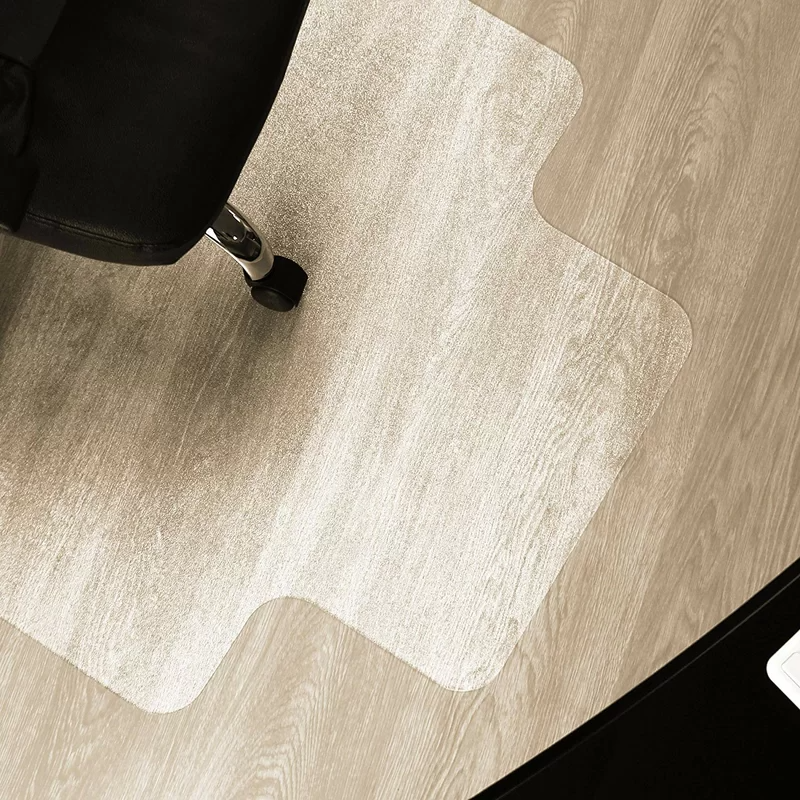
Are you tired of your office chair scratching your floor? A wooden chair mat could be the perfect solution! Not only does it protect your flooring, but it also adds a touch of rustic elegance to your workspace. In this guide, we'll walk you through the step-by-step process of crafting your very own wooden chair mat.
Materials Needed:
Step 1: Measure and Mark
Begin by measuring the dimensions of your chair mat. Mark the measurements on the wooden planks using a pencil.
Step 2: Cut the Planks
Use a saw to cut the wooden planks along the marked lines. Ensure precision to create straight and even pieces.
Step 3: Sand the Edges
Smooth the edges of each wooden plank with sandpaper. This step is crucial to prevent splinters and achieve a polished look.
Step 4: Arrange the Planks
Lay out the wooden planks in the desired pattern. You can opt for a traditional grid or get creative with a herringbone design.
Step 5: Glue the Planks
Apply wood glue to the edges of each plank and carefully press them together. Wipe off any excess glue immediately with a damp cloth.
Step 6: Allow for Drying
Let the glued planks dry completely. This usually takes a few hours, but follow the specific drying time recommended for your wood glue.
Step 7: Apply Finish
Once the chair mat is fully dry, apply a wood finish or varnish to protect the surface. This also enhances the natural beauty of the wood.
Step 8: Final Touches
Inspect the chair mat for any imperfections. Sand down any rough spots and add another coat of finish if needed.
Fax:+86-(0)21-54409108
E-mail:info@dedaomats.com
Tel/Whatsapp:0086-15000405598
Address:No. 17, Bingang Road, Hairun Street, Taizhou, Zhejiang, China