

Working from home has become more prevalent than ever, and creating a comfortable and functional workspace is essential for productivity. One key element that often goes overlooked is the chair mat. In this article, we will guide you through the process of creating your own hardwood chair mat, adding a touch of elegance and practicality to your home office.
Hardwood chair mats offer a stylish and durable solution to protect your floors from the wear and tear caused by office chairs. DIY enthusiasts can take on this project with ease, creating a customized chair mat that complements their workspace perfectly.
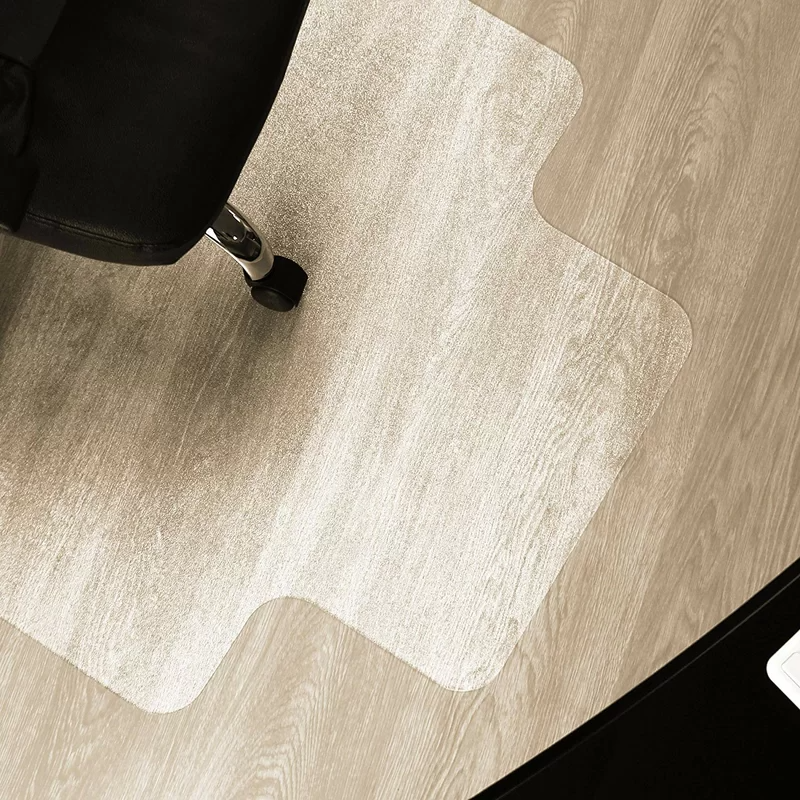
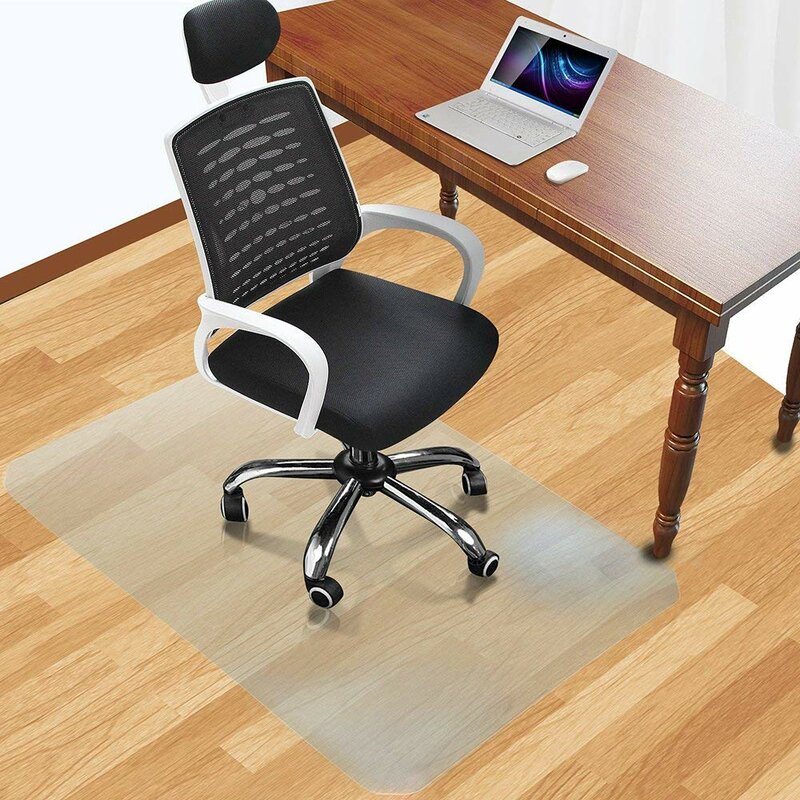
Before diving into the DIY process, let's explore the benefits of a hardwood chair mat. These mats not only safeguard your floors but also provide a smooth surface for your chair to roll on, reducing strain on both the chair wheels and the flooring material. Additionally, they add a professional and polished look to your home office setup.
1. Hardwood boards or plywood
2. Measuring tape
3. Saw
4. Sandpaper
5. Wood stain or finish
6. Paintbrush
1. Measure and Cut: Begin by measuring the dimensions of your workspace and cutting the hardwood boards or plywood accordingly. Ensure that the mat is large enough to accommodate your chair and desk area.
2. Sand the Edges: Use sandpaper to smooth the edges of the cut boards. This step is crucial to prevent splinters and ensure a polished finish.
3. Arrange the Boards: Arrange the boards in the desired pattern, ensuring a tight fit. Consider creating a herringbone or chevron pattern for added visual appeal.
4. Secure the Boards: Use wood glue to secure the boards together. Allow sufficient drying time to ensure a strong bond.
5. Apply Stain or Finish: Once the boards are securely attached, use a paintbrush to apply your chosen wood stain or finish. This step not only enhances the appearance but also protects the wood.
By following these simple steps, you can create a personalized hardwood chair mat that elevates your workspace. Say goodbye to unsightly plastic mats and welcome a touch of sophistication to your home office.
DIY projects allow you to tailor the final product to your preferences and save money compared to purchasing pre-made chair mats. Plus, the sense of accomplishment that comes with creating something unique for your workspace is truly rewarding.
Transform your home office with a DIY hardwood chair mat that combines functionality with aesthetic appeal. Enjoy the benefits of a protected and stylish workspace, all while adding your personal touch to the design.
Fax:+86-(0)21-54409108
E-mail:info@dedaomats.com
Tel/Whatsapp:0086-15000405598
Address:No. 17, Bingang Road, Hairun Street, Taizhou, Zhejiang, China