

Are you tired of the dull and generic chair mats available in the market? Why not add a personal touch to your workspace by creating your own chair mat with a DIY project? In this article, we will guide you through the process of crafting a chair mat DIY style, ensuring both functionality and aesthetics for your office or home office setup.
Chair mat DIY projects allow you to choose the materials, colors, and patterns that resonate with your style. Say goodbye to the one-size-fits-all approach and embrace a customized solution that enhances the overall look of your workspace.
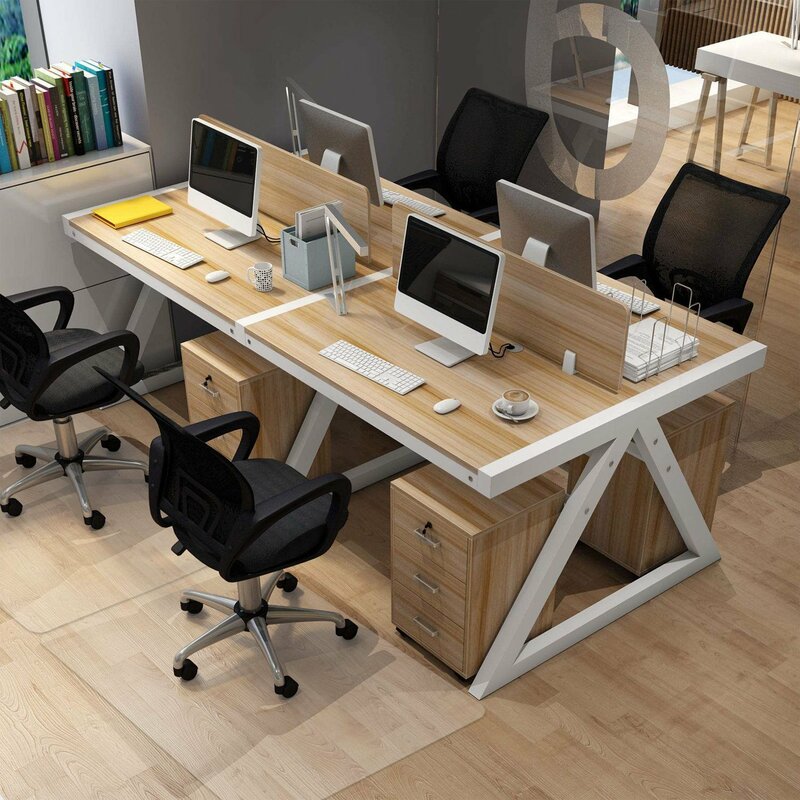
Before diving into the DIY process, let's explore the benefits of creating your own chair mat. Firstly, it gives you the flexibility to select the size that perfectly fits your workspace. Whether you have a compact home office or a spacious corporate desk, a DIY chair mat ensures a tailored fit.
Additionally, you have the freedom to choose the materials that suit your preferences and needs. From durable PVC to eco-friendly alternatives, the choice is yours. This not only contributes to a more personalized workspace but also aligns with your values.
Now, let's get into the step-by-step guide for your chair mat DIY project:
Start by collecting the materials you'll need for the project. This typically includes the mat base, chosen fabric or material for the surface, adhesive, and a cutting tool.
Measure the dimensions of your workspace and mark them on the mat base. Use a cutting tool to carefully cut the mat to the desired size. Precision is key to ensure a snug fit.
Select a fabric or material that not only complements your office decor but is also easy to clean and maintain. Consider factors like durability and comfort when making your choice.
Apply adhesive to the mat base and carefully place the chosen surface material on top. Smooth out any wrinkles or bubbles to achieve a professional finish. Allow sufficient time for the adhesive to dry.
This is the fun part! Add personal touches to your chair mat by incorporating patterns, colors, or even your logo. Let your creativity shine through to make your workspace uniquely yours.
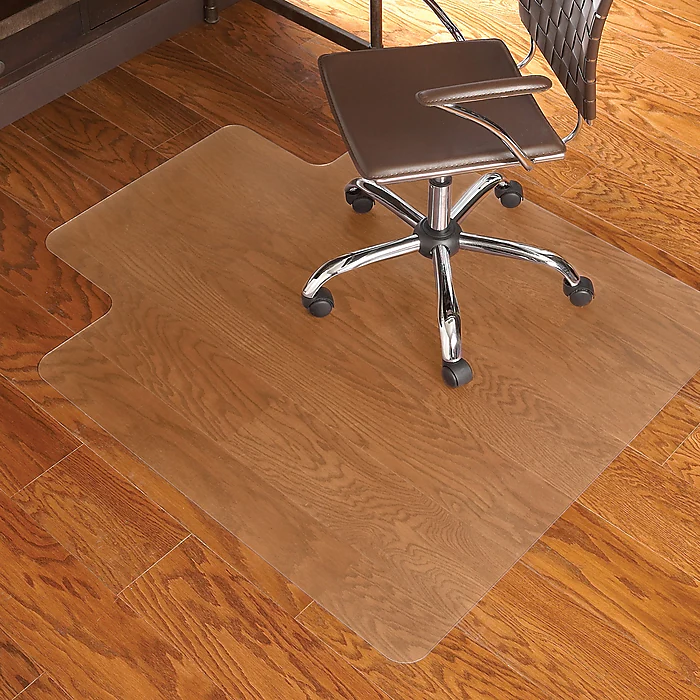
By following these steps, you can create a chair mat that not only protects your floors and makes movement smoother but also adds a touch of personality to your workspace.
Fax:+86-(0)21-54409108
E-mail:info@dedaomats.com
Tel/Whatsapp:0086-15000405598
Address:No. 17, Bingang Road, Hairun Street, Taizhou, Zhejiang, China